Mid-Century Record Player Console
A tutorial by


- 4 - 6" Spider Legs
- 1 - 96"x 48" Plywood
- 1 - 2x4
- 16 - 2" wood screws
- 48 - 3/4" wood screws
- Drill/Driver
- Circular Saw
- Orbital sander
- Tape Measure

Miguel Emmanuelli
Miguel Emmanuelli is Semi Exacts' in house photographer, videographer and maker. Miguel stands by the belief that all humans are creators meant to create-And his mission is to bring everyone closer to their true nature with Semi Exact.
Miguel enjoys designing, making and photographing, simple, visually satisfying builds with accessible lumber that anyone can tackle.
"simplicity is the ultimate sophistication" -L. Davinci
Step 1:
Size and prep your plywood
Cut your sheet of ply into two 24" x 48" pieces. Use your first cut as a guide for your second. Ideally, you want both cuts to be identical. (Optional: Cut a 2"x 44" piece of ply as a back stop for your records and attach with 1 1/4" wood screws, 12" from the front of the console.) For a heavy duty build, use four cuts of ply to double up your base and top.

Step 2:
Size and prep your 2x4
Here you will need to cut four 13" pieces of 2x4. Ensure all are the same height so your console top will sit level. Sand these nicely to elevate the look!
Step 3:
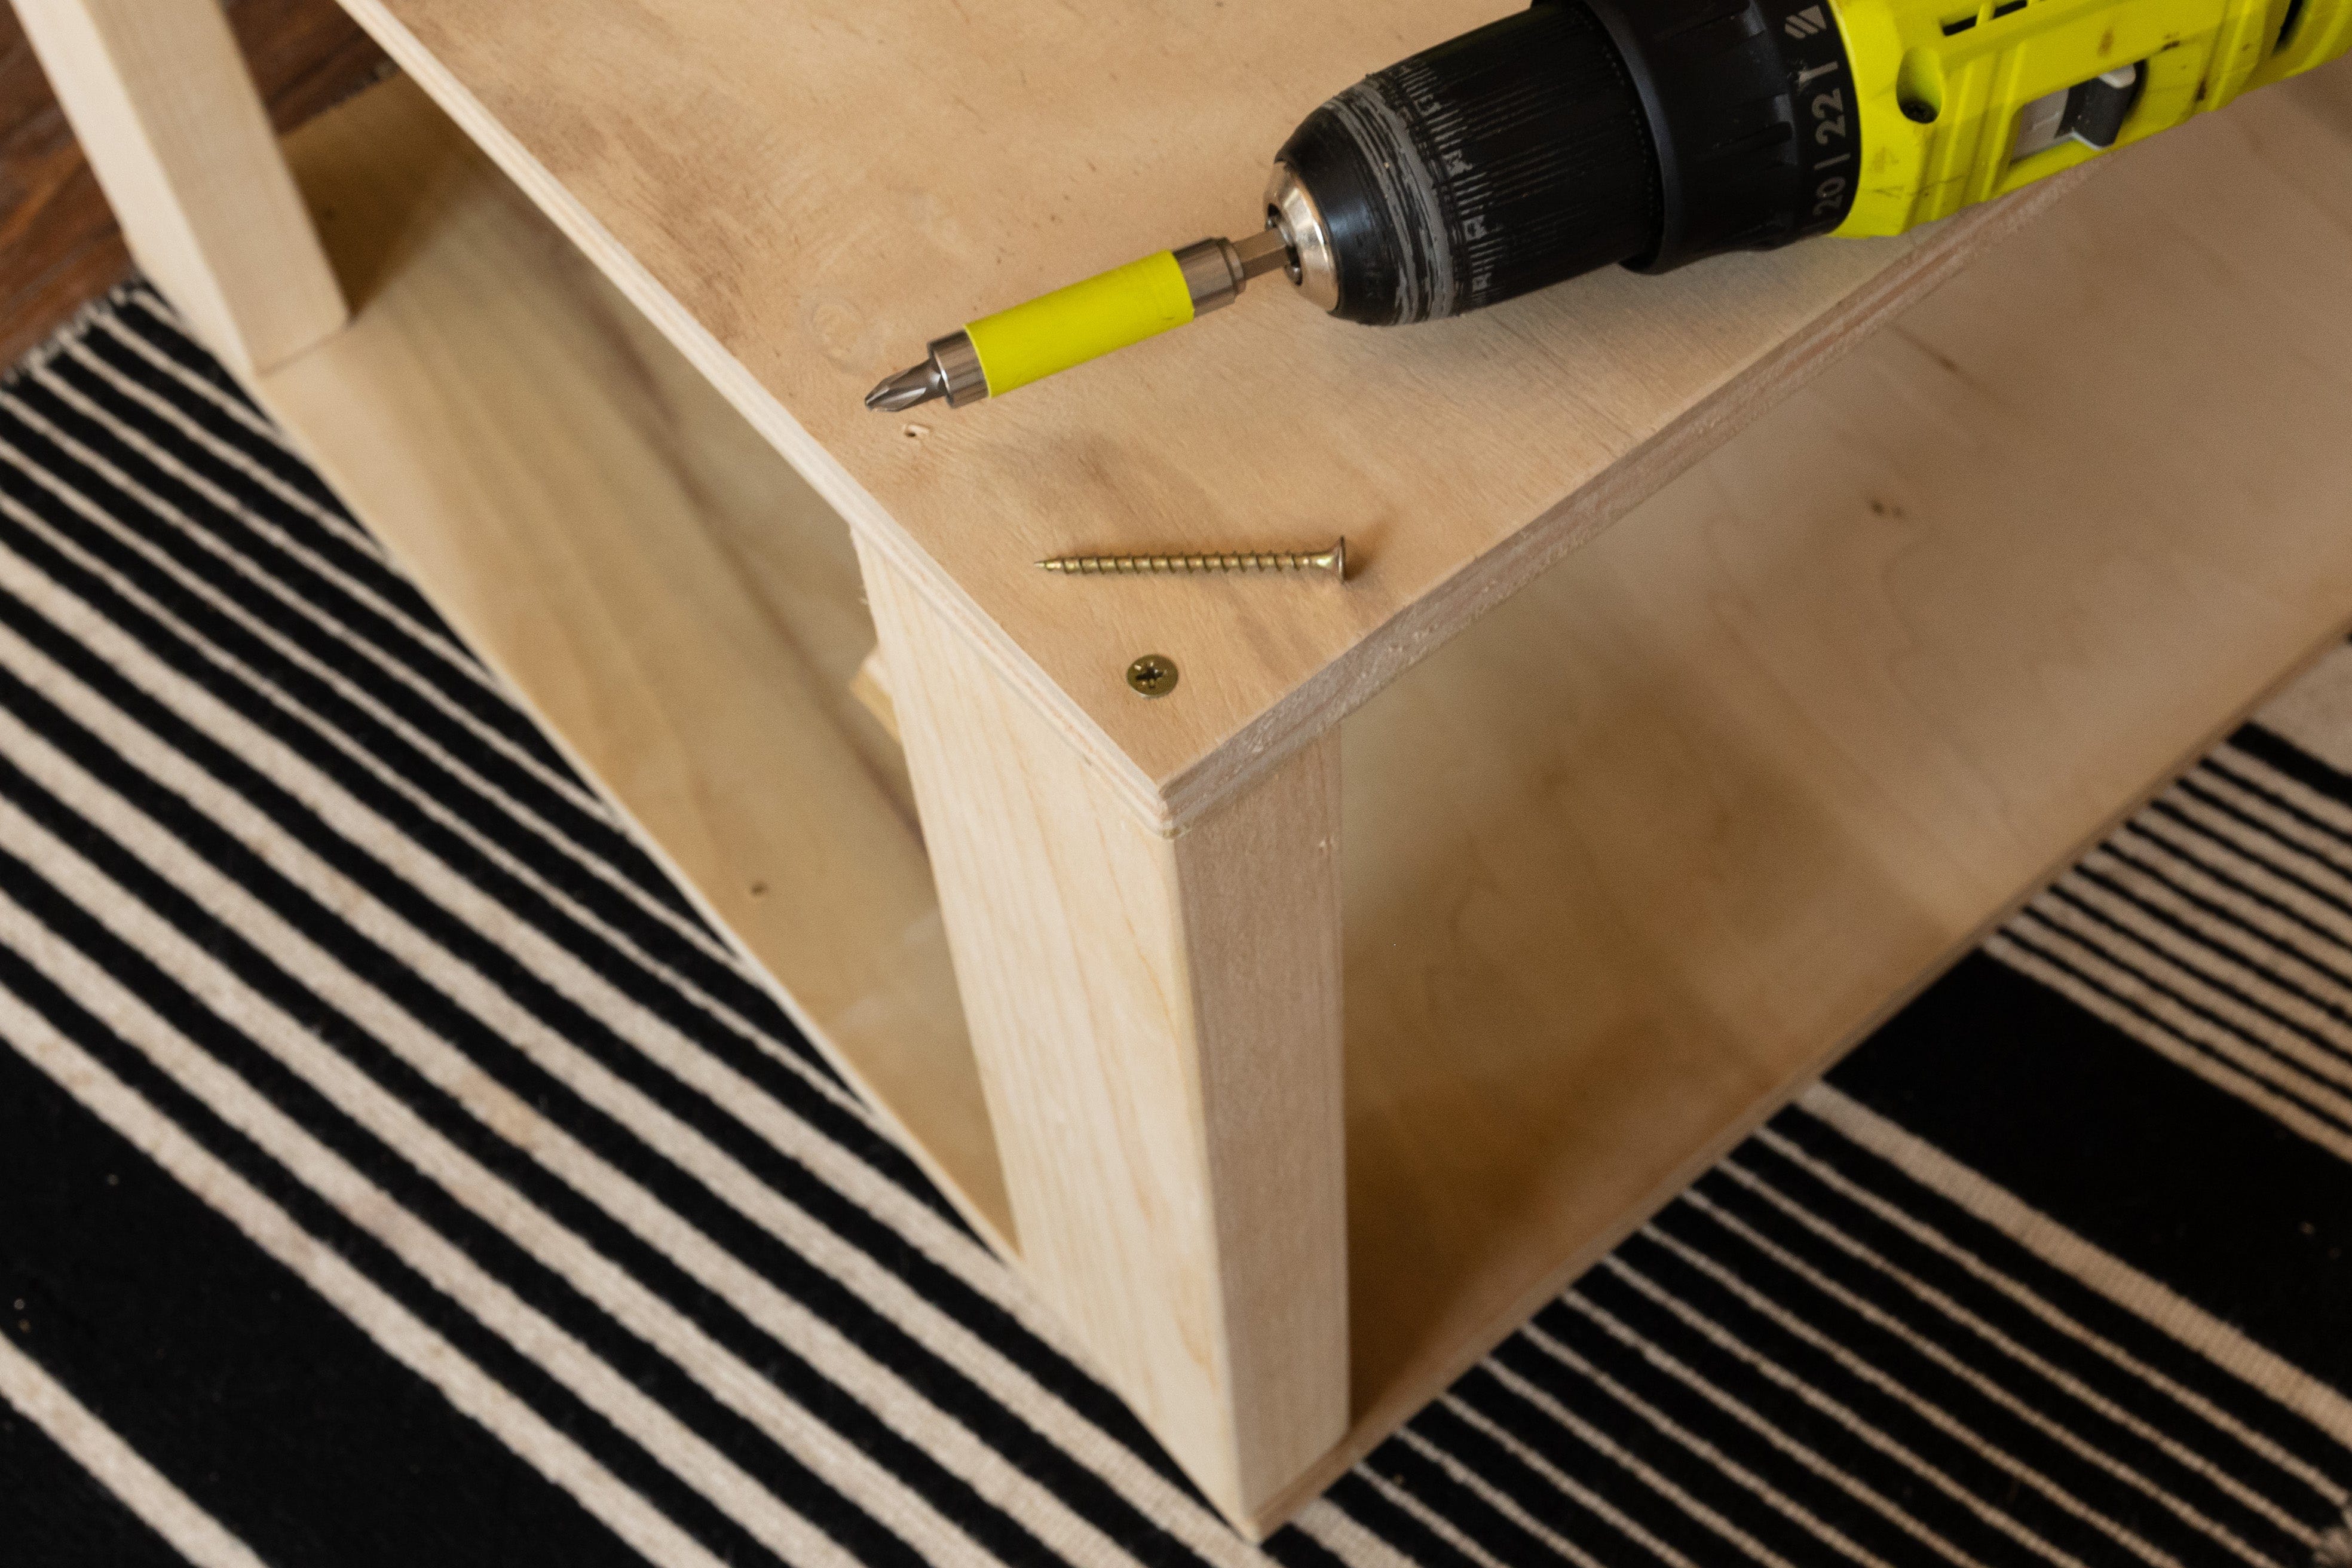
Construct your console
Place your 2x4 cuts on level ground, standing up-right, approximately the dimension of your plywood cuts. Place one piece of ply onto your four 2x4's(like a table). Shimmy your 2x4's so they are flush with the edge of the ply. Once satisfied with placement, start screwing your ply and 2x4 together with 2" wood screws(drive screws straight down perpendicular to ply). Two screws per corner should suffice. Once complete, flip over and repeat with second piece of plywood. Sand again to achieve a flush, smooth look.

Step 4:
Attach your Spider Legs
Place your Spider legs at the four corners of your console. I placed the legs so that the corners of the bends are flush with the corners of the ply(feel free to put them further inside your plywood base for better support). I used (12) 3/4" wood screws to attach each legs to the plywood. (If you went for the heavy-duty build, mentioned in the Step 1, use 1 1/4" wood screws.

Step 5:
Enjoy your new record console!
There you have it! A sweet mid-century record console with super sturdy/sleek Semi Exact Spider Legs. Easy-Peasy if you ask me!