H-Frame Lounge Chair
A tutorial by

BASIC TOOLS:
| Tape Measure | |
| Circular Saw |  |
| Orbital Sander |  |
| Drill/Drive |
2 Hours
Miguel Emmanuelli
Miguel Emmanuelli is Semi Exacts' in house photographer, videographer and maker. Miguel stands by the belief that all humans are creators meant to create-And his mission is to bring everyone closer to their true nature with Semi Exact.
Miguel enjoys designing, making and photographing, simple, visually satisfying builds with accessible lumber that anyone can tackle.
"simplicity is the ultimate sophistication" -L. Davinci
When I discovered we could make a lounge with our table legs, I was super pumped. It's solid and stylish.
Step 1:
Purchase your H-Frame legs, 90 Degree Brackets and Cushions
For this build you will need to purchase two 25"H x 36"W H-Frame legs. You will also need six 90 degree brackets. Two of those will need to be 18", two of them 12" and two of them 6". You can purchase these in same finish or mix it up for a unique look. You will also need 3/4" hex head self-tapping screws to attach the brackets to the legs. For cushions, I opted for zipcushion.com. I purchased 24 x 24 x 5 seat and 24 x 18 x 5 for the seat back. These took around 14 days to arrive.

Step 2:
Prep your wood
For the lounge I used plywood and dimensional Select pine boards from Home Depot.
3/4" Plywood cuts: Seat: 24 x 24 Seat back : 18 x 23
Select Pine Boards:
Arm rests x 2 : 1" x 6" x 32" Upper horizontal back rest support x 1 : 1" x 8" x 33" Lower shelf x 1 : 1" x 10" x 24" Lower vertical support : 1" x 8" x 24"
Cut, sand and finish these as you like.
Step 3:
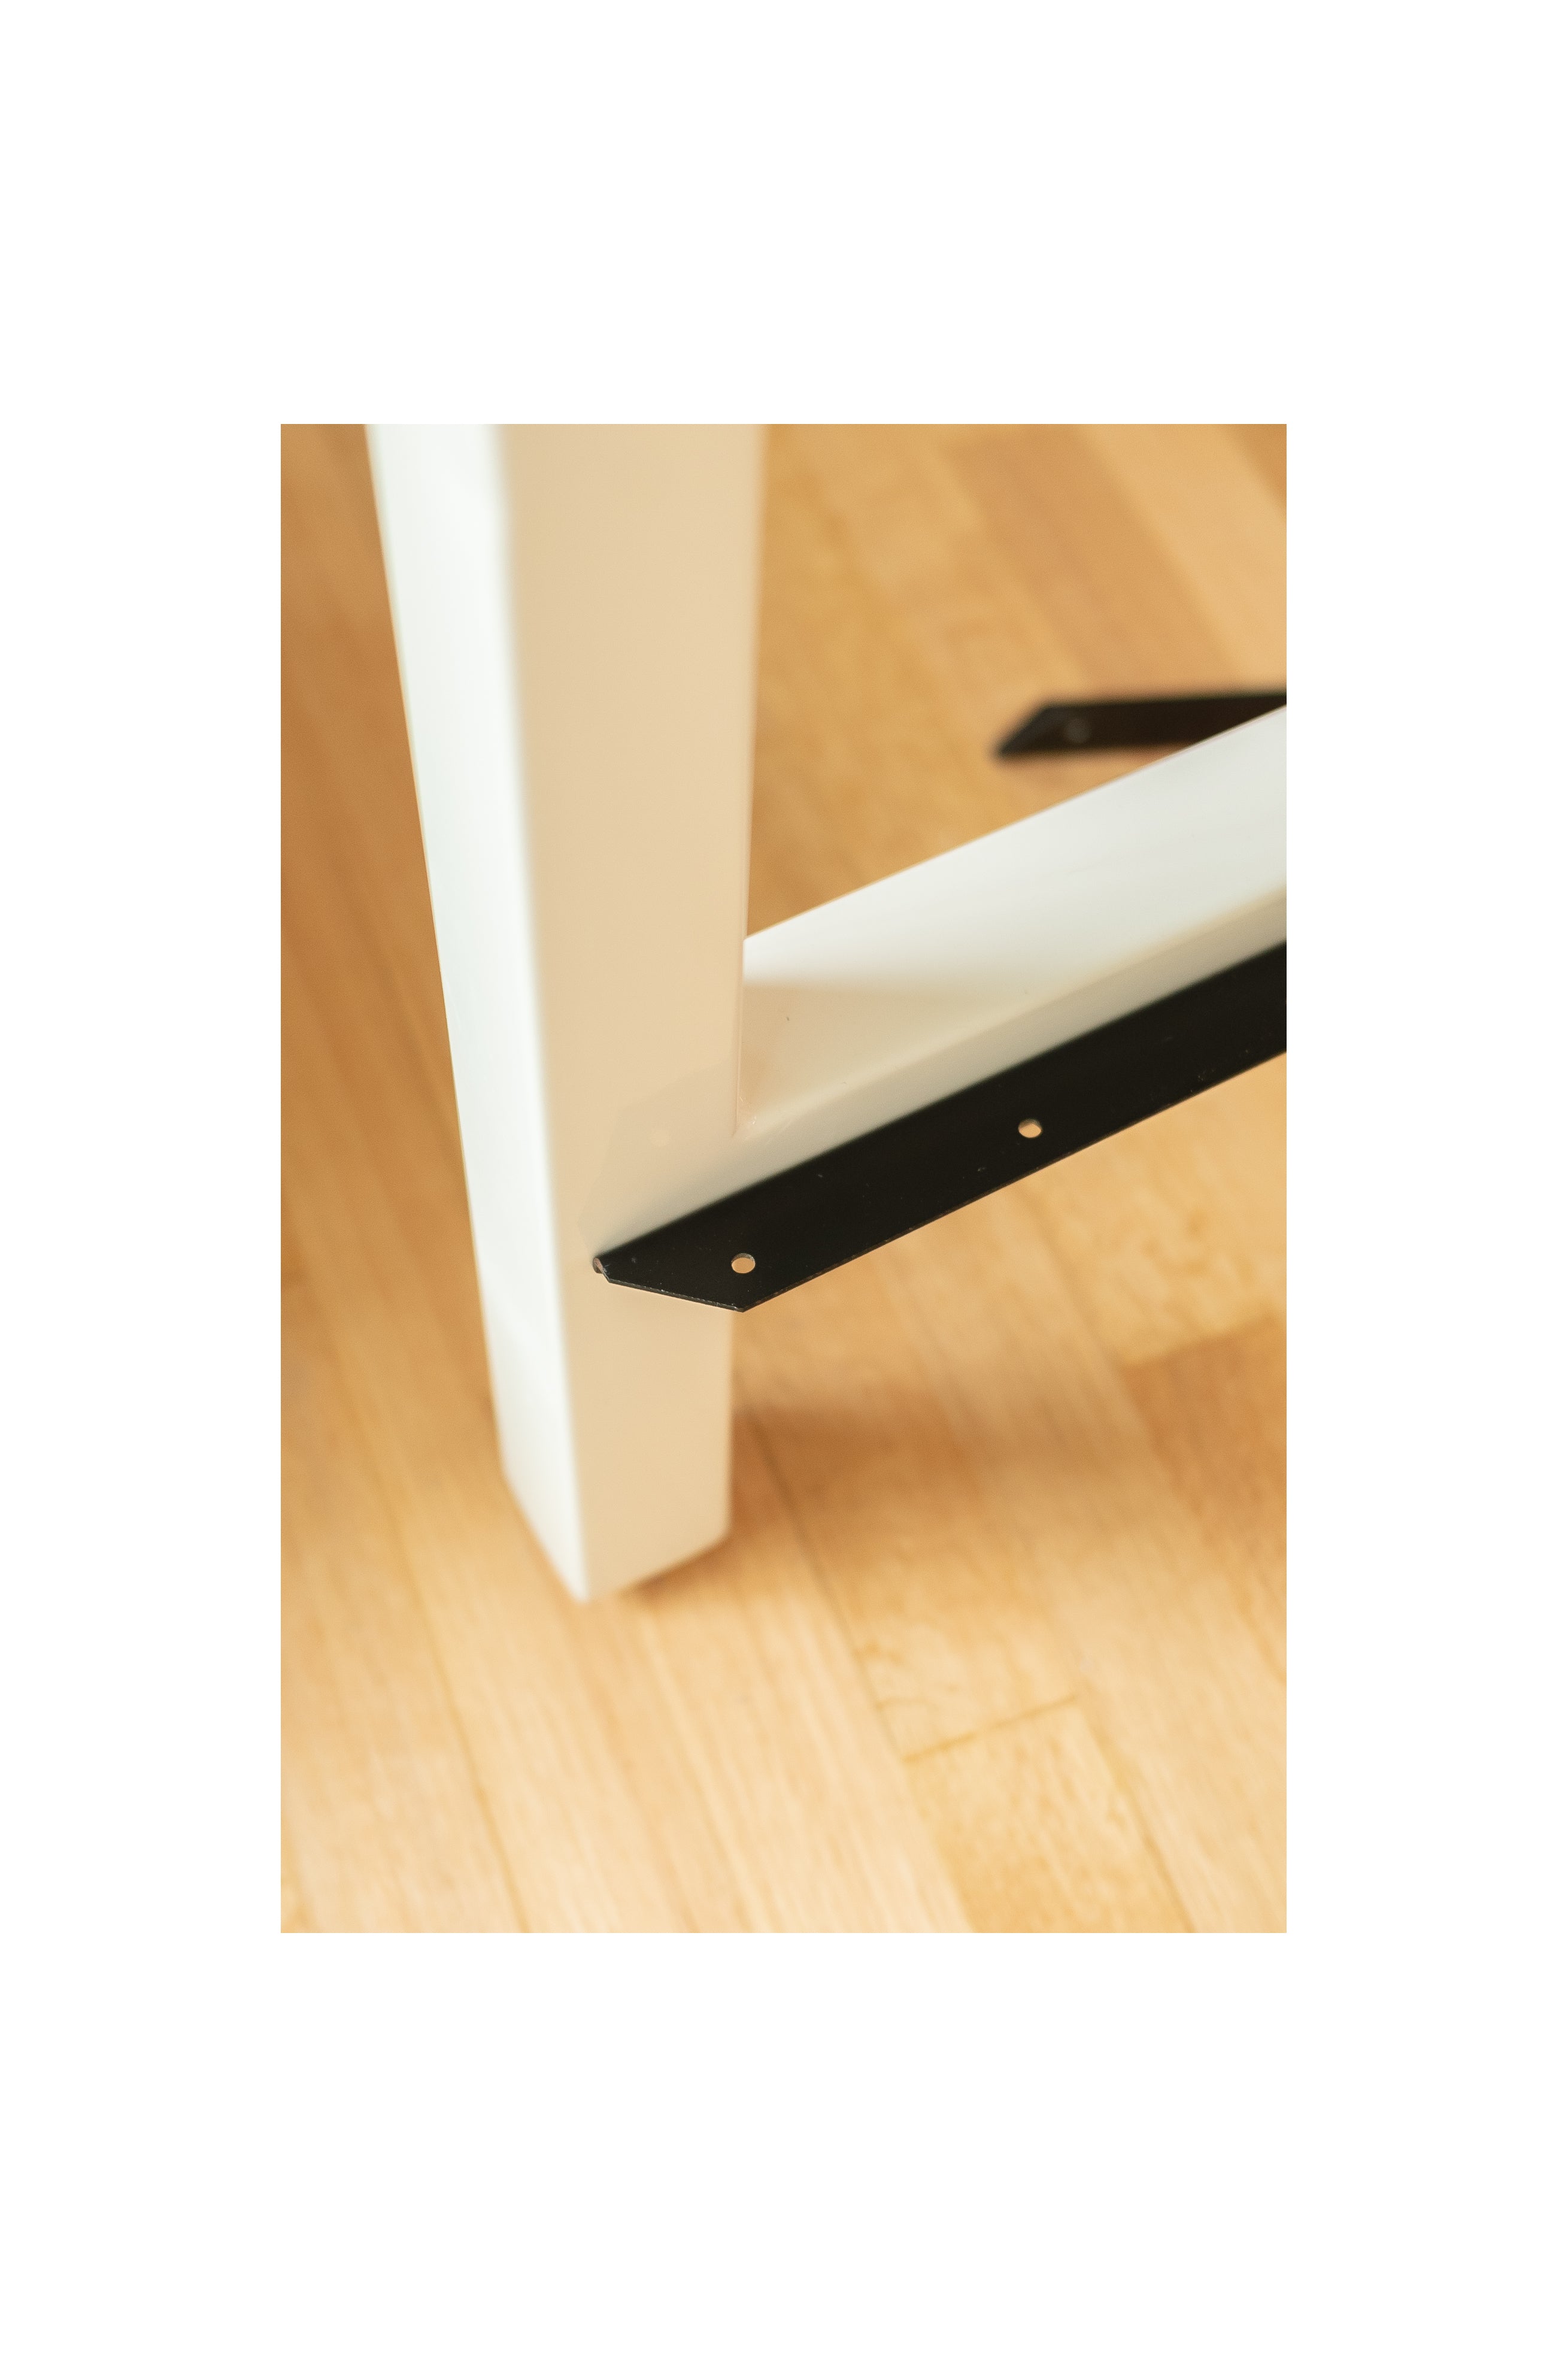
Attach your 90 degree brackets
First, Fasten your 18" brackets to the H-Frame cross bar to create a rail for your seat to attach to. Line the bracket up flush with the bottom of the crossbar 3" from the front edge of the H-Frame on both legs.
Second, attach your 12" brackets 2" from the back edge of the legs. These brackets will support the lower shelf.
Third: attach your 6" brackets perpendicularly 1" from the top edge of the H-Frame on what will eventually be the back side of the chair. These 6" brackets will hold your lower vertical support on the back side of the chair.

Step 4:
Attach your wood
First, Attach your 24x24 seat.
Second, attach your lower shelf 1" away from your seat. This 1" space is crucial, this is where your seat back will sit on the exposed rail(bracket).
Third, attach your Upper horizontal back rest support.
Fourth, attach your lower vertical support to the 6" brackets. This should square things nicely and should feel pretty solid by now.
Lastly, attach your arm rests.
Now you can place your 18 x 24 back rest into the 1" space on seat rails and rest it on the horizontal back rest support. This is meant to not be attached .

Step 5:
Place your cushions and Enjoy!
Please let us know if you have any questions! and share your end product with us at makewith@semiexact.com